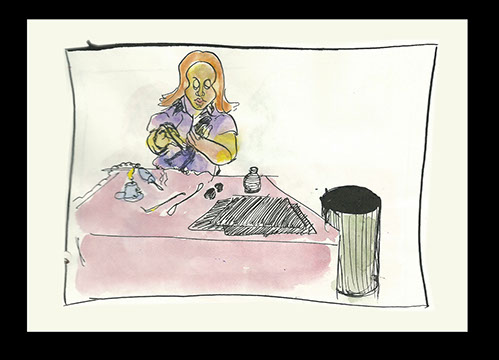

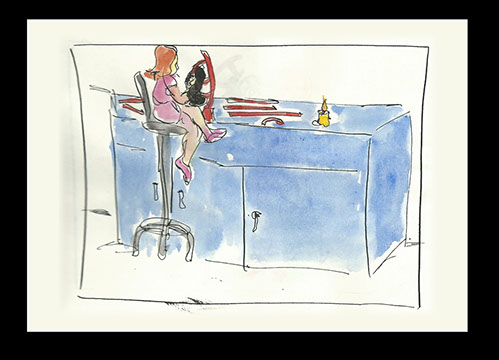


The first step is to create the sculpture in a wax format using microcrystalline wax. I tool it with dental tools and heat them with a candle or an alcohol lamp. For the heavier changes I use a soldering iron.
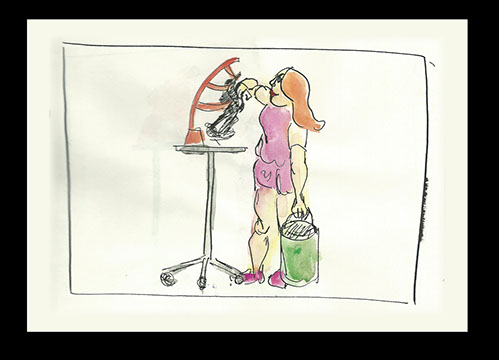
Once I have the wax finished to the exact result I want the metal to take I apply xylene to remove some of the various tool marks.
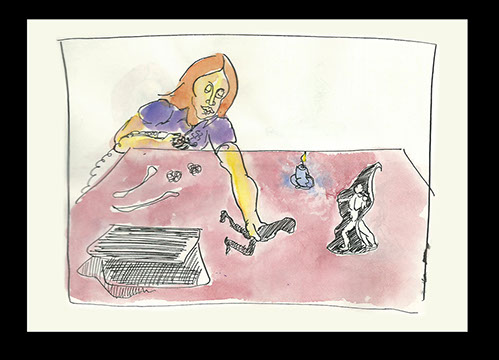
I usually prepare more than a few pieces for each pour so that I get the biggest amount of production that I can for each pour of metal.
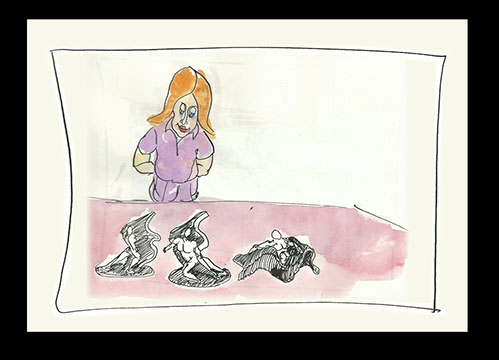
Usually my work will include a theme that includes three pieces that illustrate the concept I want to present.
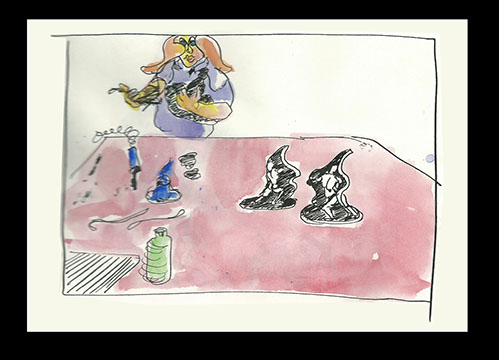
Once I am satisfied with the results I start preparing molds for the metal pour.
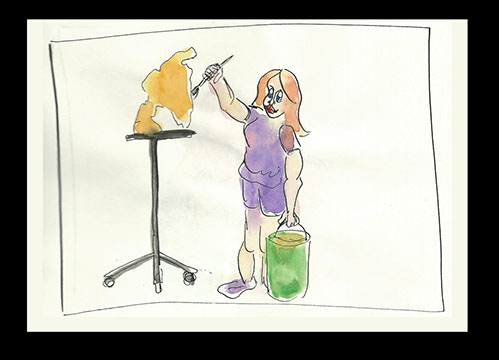
To prepare each piece for a metal pour, using the lost wax process, you must add "gating" (a channel of wax rods that will lead the metal into the sculpture from a cup like opening at the top of the mold.)
After the "gating" (wax rods) have been melted onto the sculpture, then I apply a layer of face coat (plaster mixed with sand ) to the entire surface. This secures the detail prior to adding the balance of the mold material that houses the wax.
This face coat is usually a little bit thinner than the actual mold material so that it can fill the detailed areas a bit better.
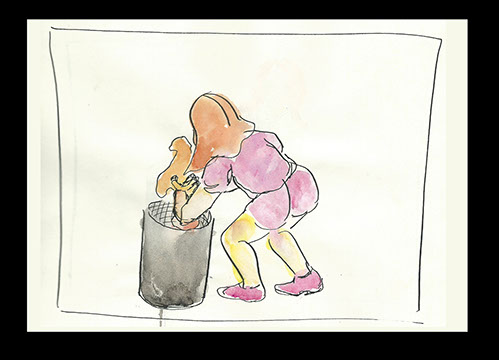
Next I make a basket/cottle out of chicken wire and tar paper. This is where I insert the sculptured wax into the basket/cottle to prep it for the balance of the mold material. The mold material secures the wax so that it can be baked and allow the wax to melt out of the mold leaving a cavity for the metal to flow into.
Pouring the investment (mold material) is a careful process so that you don't allow the heavy liquid to disengage the gating from the sculpture. You need to fill the basket to the top making sure that the material surrounds the wax equally at all sides.
Once the mold is dry, you remove the tar paper to prepare the mold for a ceramic kiln that allows the wax to burn out, leaving the cavity for the metal to flow into.
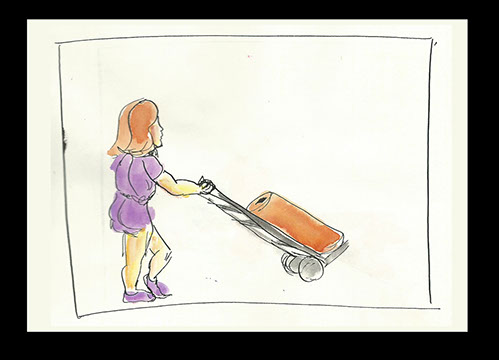
Some of my molds are quite heavy and require a crane to move them. I usually just manage them by myself except when the weight is more than 100 pounds.
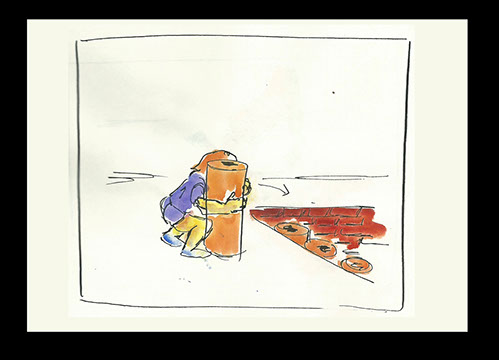
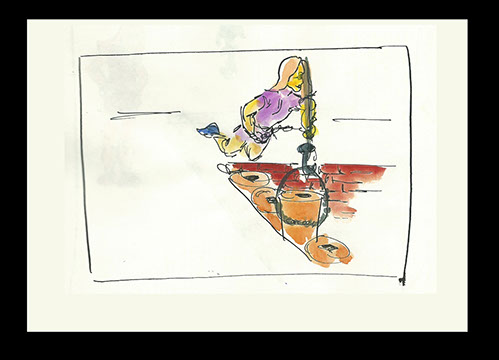
The molds are then placed into the kiln. Some kilns are built into the ground, with firebrick lining. Some foundries use freestanding kilns. The molds must be baked like ceramics and wax is deposited out the bottom leaving a replica cavity of the sculpture.
If I can lift the mold I do it manually, otherwise I place a rope around the mold and lift it carefully into the kiln.
I have to agree the crane with an electric pulley is a very useful tool and very necessary in a foundry situation.
The kiln is then sealed and the molds usually are baked for a couple days using a slow process of heating and cooling to prevent cracks in the molds.
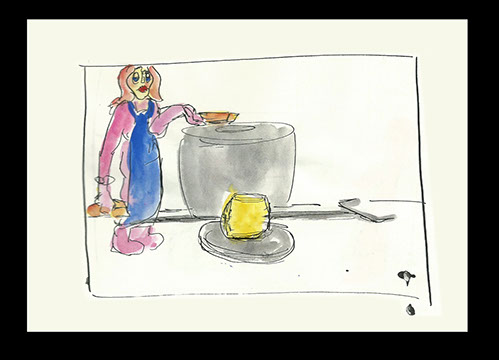
When the molds are ready to be removed, we start up the metal furnace to start melting ingots of bronze or aluminum depending on what metal the sculpture is to be cast in. The furnace is lighted with the use of oxygen and natural gas and/or propane. This depends on which gas each foundry is set up for.
Usually you place the ingots on the side of the furnace to allow them to heat up a little before placing it into the crucible with other metal. This prevents the contrasting temperatures of the metal causing a disturbing heat reaction.
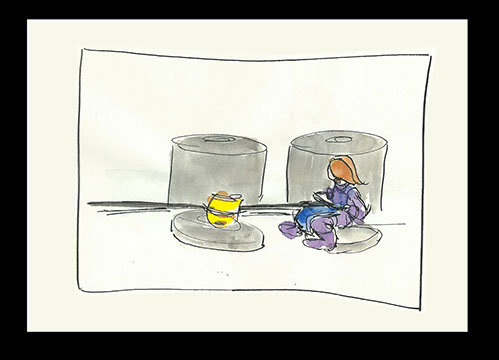
Removing the crucible is a very exacting process, which you must be very steady with the use of tools that link around the crucible of hot metal. You always have a second person on the other end of the tool to help you keep the crucible balanced while you are removing it from the furnace.
You will have to do a lot of squatting and moving to keep the balance steady. You adjust your height depending on the height of the molds you are going to pour the molten metal into.
Once the metal has been poured into the mold, you allow it to cool. Some foundrys give it a day, and others a minimum of 60-80 minutes. I use a hatchet to break it open and to cut through the chicken wire that is still present in the mold.
Once the chicken wire is cut, the mold usually just separates fairly easily in big chunks allowing you to remove the mold material easily.
All mold material is then cleaned up and disposed of. I have had some foundrys mix some of this mold material into the recipe of their new molds. But, I haven't found that it to improve the new mold, so I prefer to discard it.
Next you cut off the "gating" that you applied to your wax sculpture in the beginning. These were the wax rods that allowed the metal to flow into your piece. This gating can be melted down and reused again for your next pour.
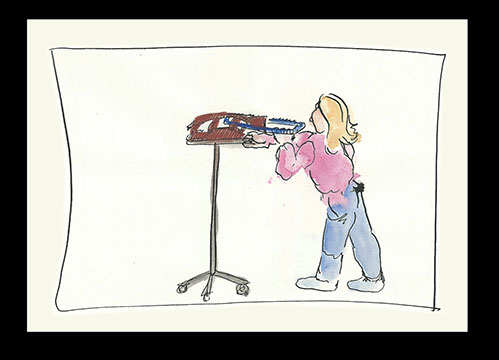
Cutting off this gating can be done manually using saws, or done with bit grinders and disk grinders. You must be very careful with the grinders to not allow the tool to get away from you and cut away too much metal. You must also not allow the grinder to get too close your final sculpture. You want that metal removal to go more slowly and practice more meticulous methods of working the metal to perfection.
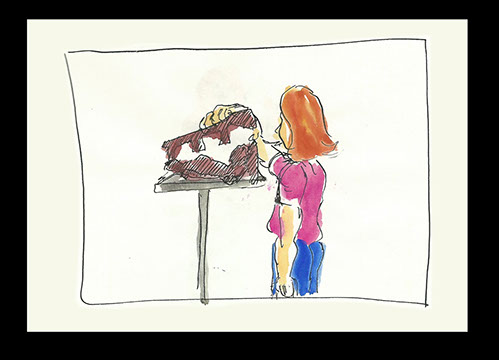
Sometimes you must use a chisel and mallot to chase away bits of metal that filled in areas where the mold may have cracked. These bits of metal are called flashing. Chasing the metal with chisels allows a slower more meticulous removal allowing you to control the texture of your final sculpture.
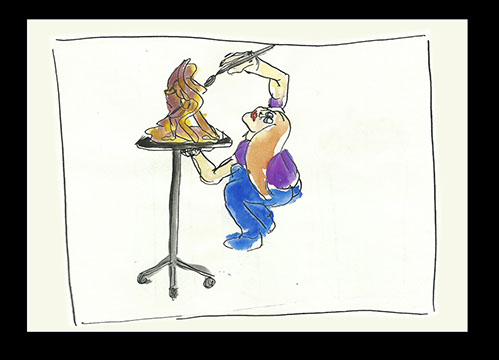
After you have completely worked the texture and surface of you sculpture you next decide what color you want your sculpture to become. Some colorations of metal come natural, like if you live near a beach the metal will become a greenish blue because of the natural salt in the air. Other colors are added by using chemicals that you either dip, paint or wax onto the metal. Some chemicals must be applied to a heated metal to get it adhere to the sculpture. The recipes created by Rodin are what I usually refer to when choosing my colors, but I have also started using premixed chemicals that are now available for purchase.
Once the patina, or color is applied you seal the sculpture with wax or shellac depending on if its meant to be outside or inside for viewing. I also make stands specific to each piece so that it will be shown in galleries in the exact height I had envisioned for viewing. This completion of a piece is the most satisfying part of the entire process. I hope you consider coming to see an actual pour someday as it really makes you appreciate the sculptures even more.
1 - 28
<
>